Keyboards
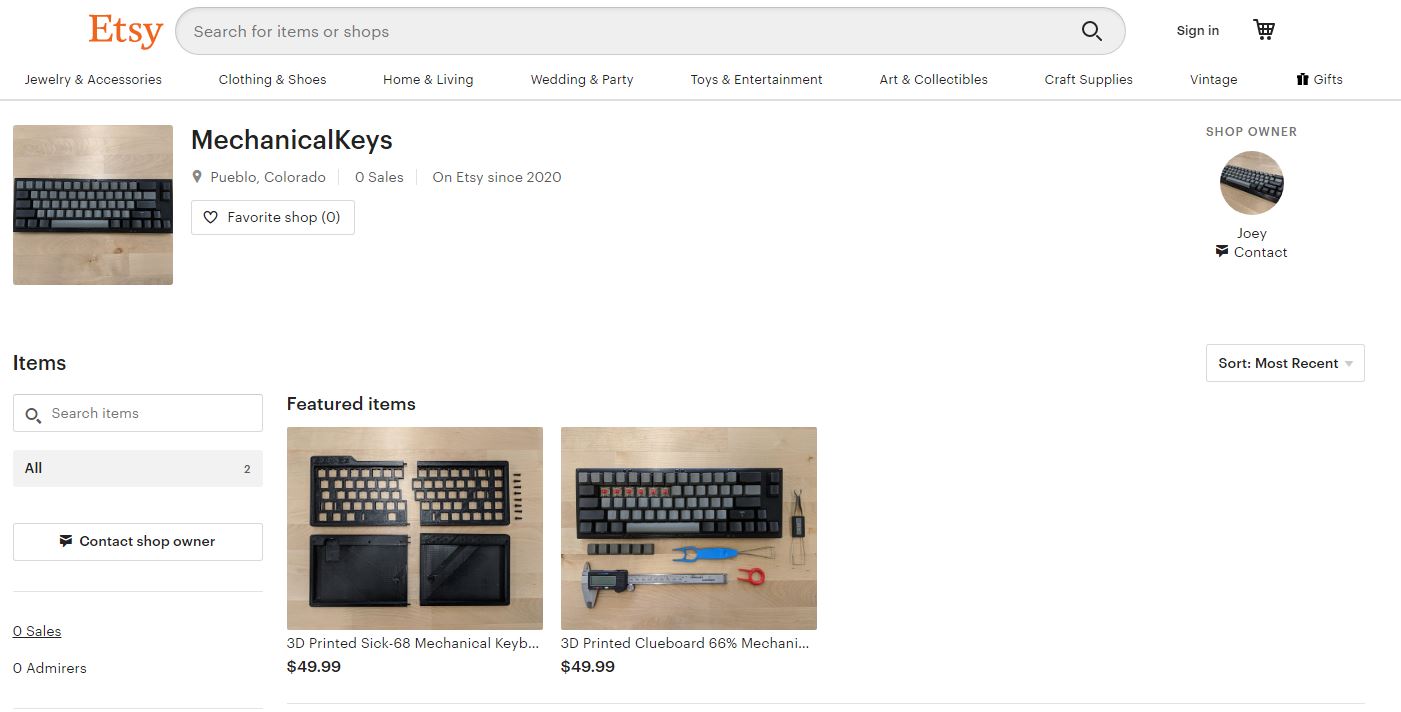
Visit our shop!

Etsy Shop
Like + Favorite Us
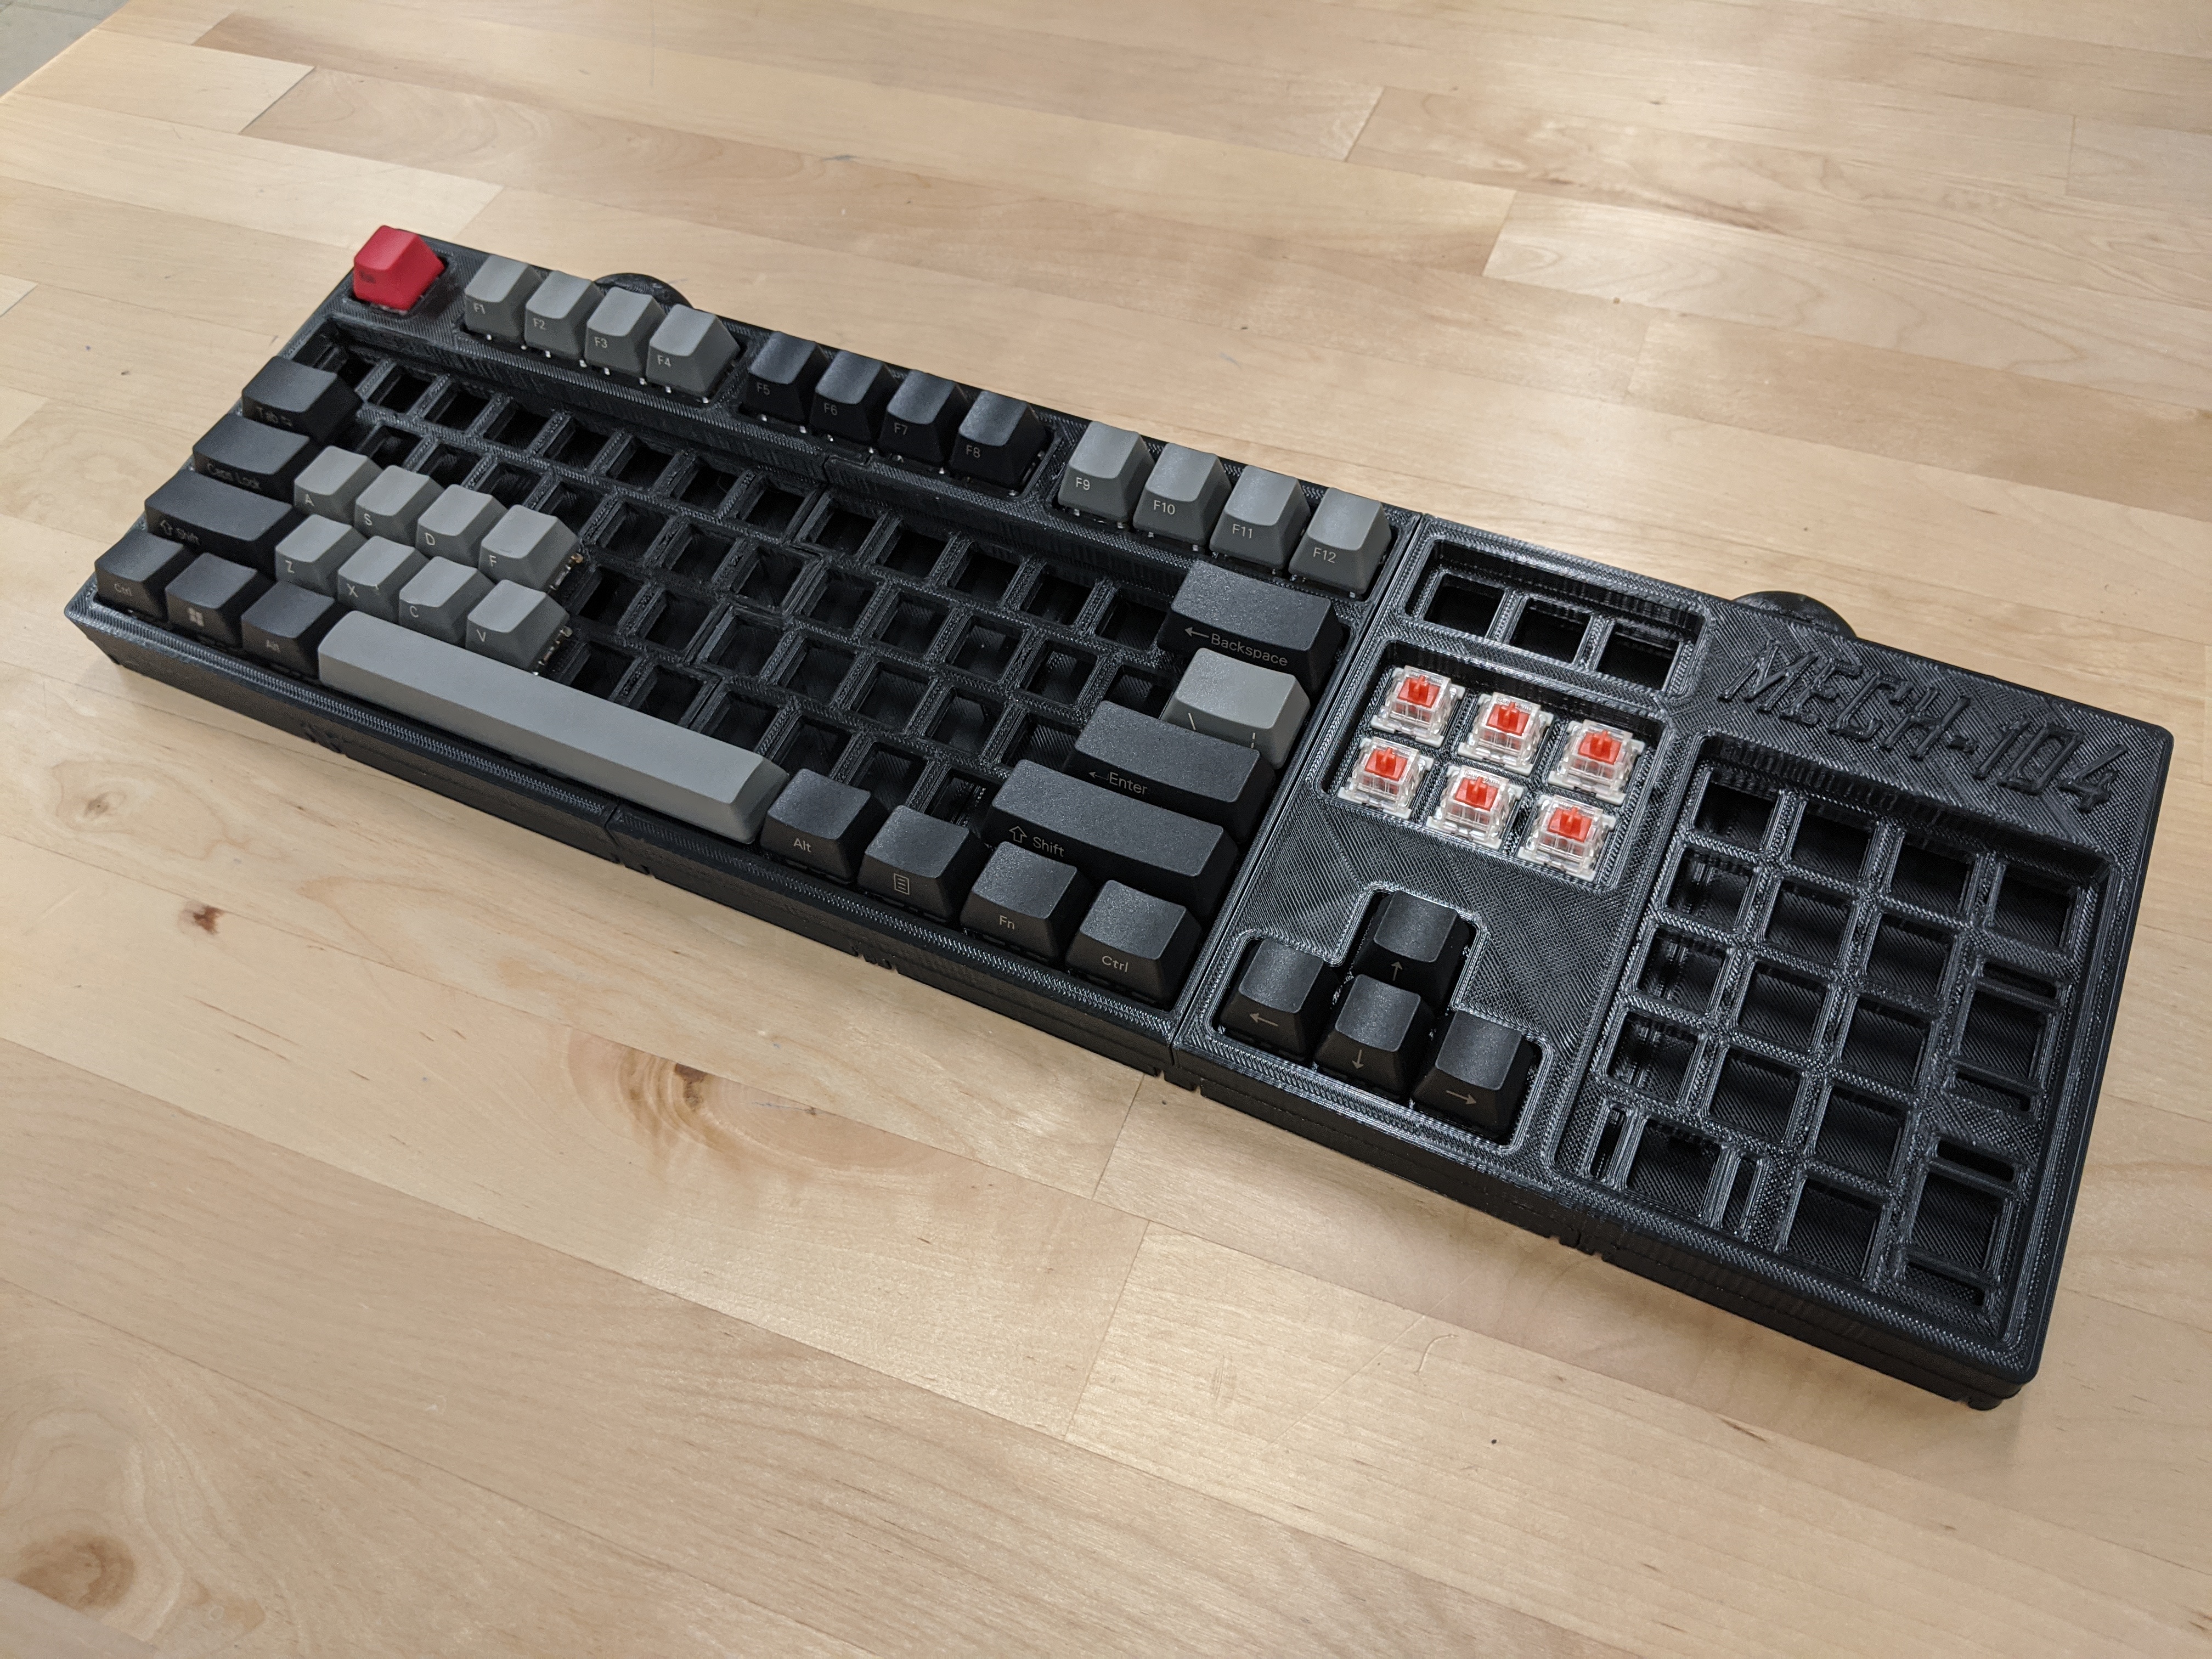
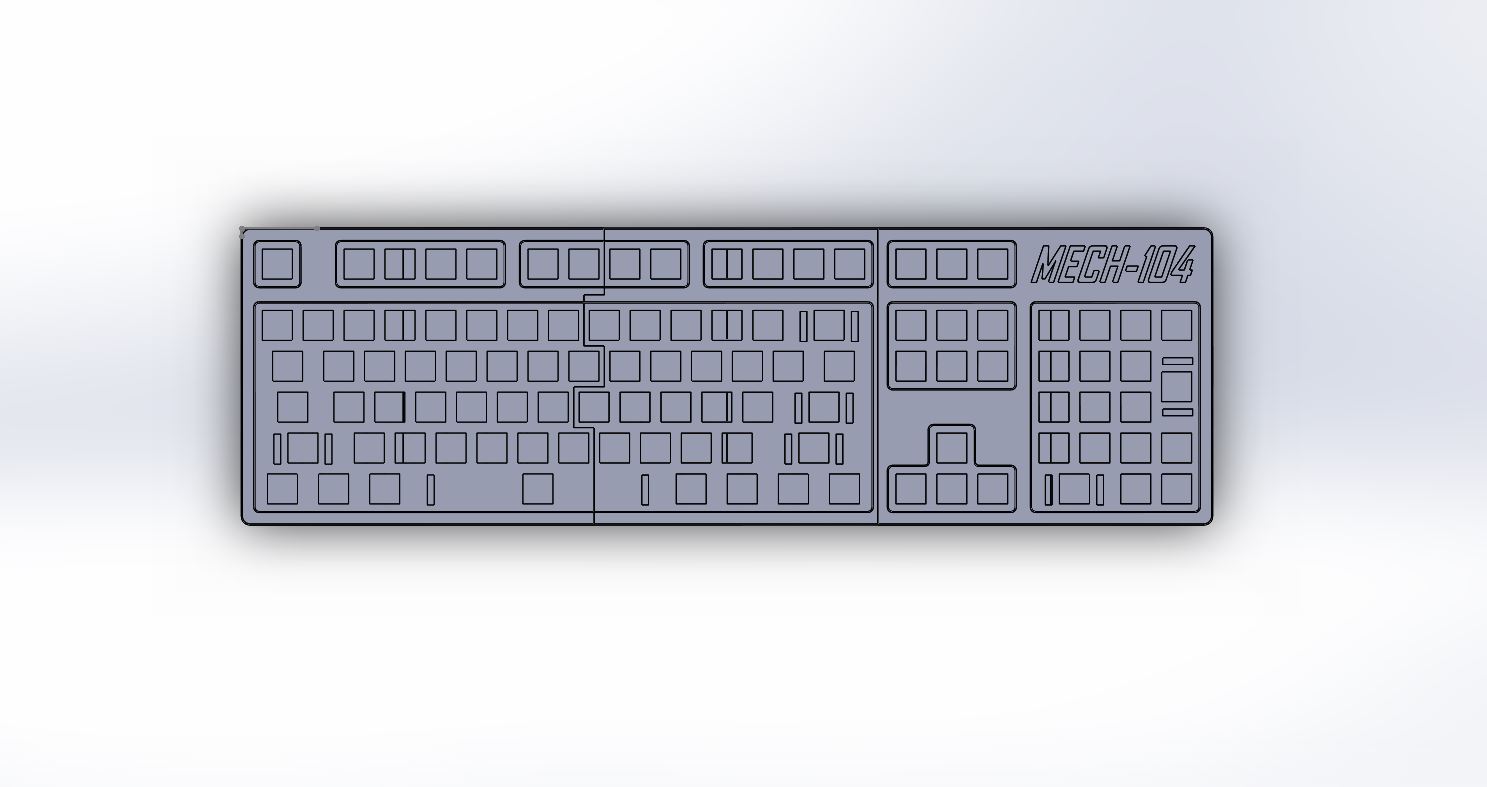
Mech-104
Full Size 100% Keyboard
Mechagodzilla
Keyboard Without Numpad and Function Row
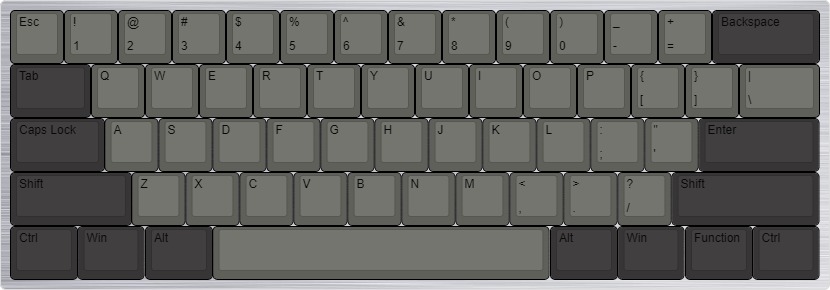
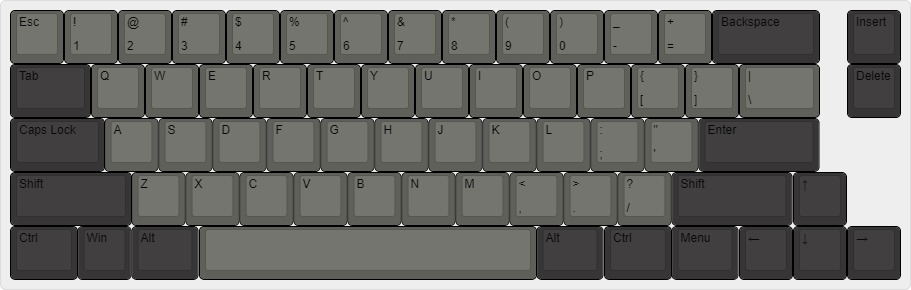
MECH-60 & MECH-GH60
60% Keyboard and the GH60 Compatible Version (Coming Soon)
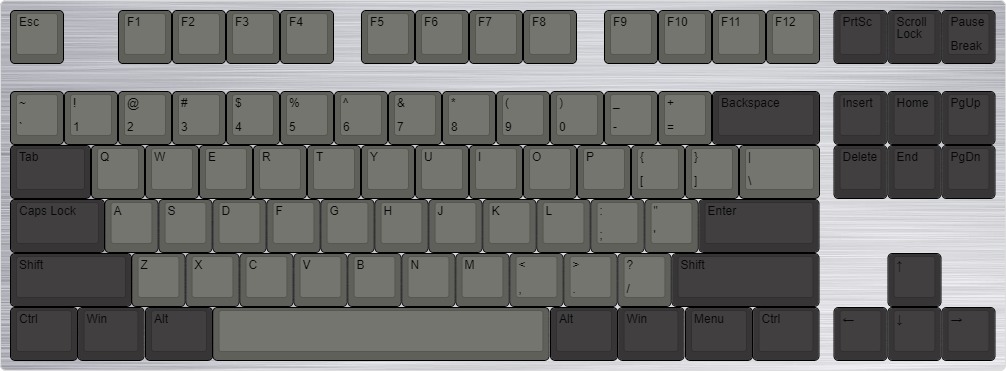
MECK-TKL
Keyboard without Numpad (Coming Soon)

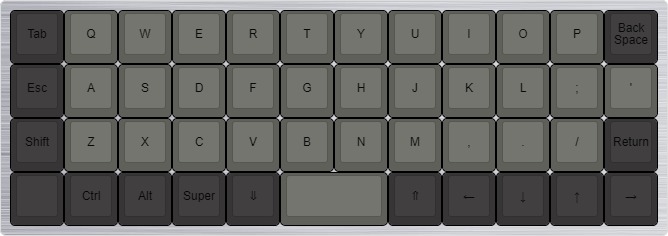
MECK-40
Tiny Form Factor Keyboard; No Numpad, Function Row or Number Row (Coming Soon)
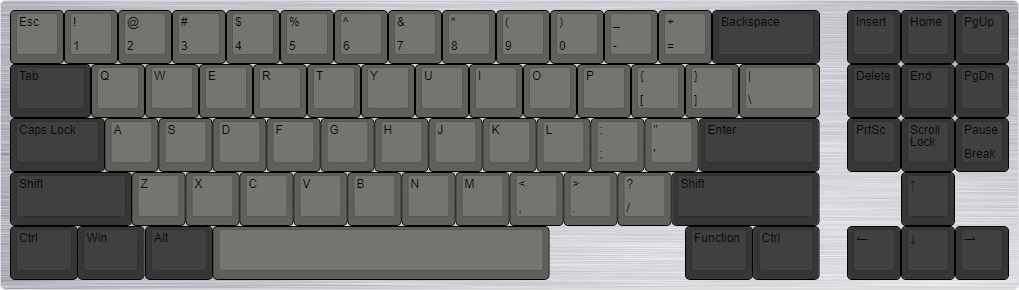
MECK-66
Based Off Leopold FC660 (Coming Soon)
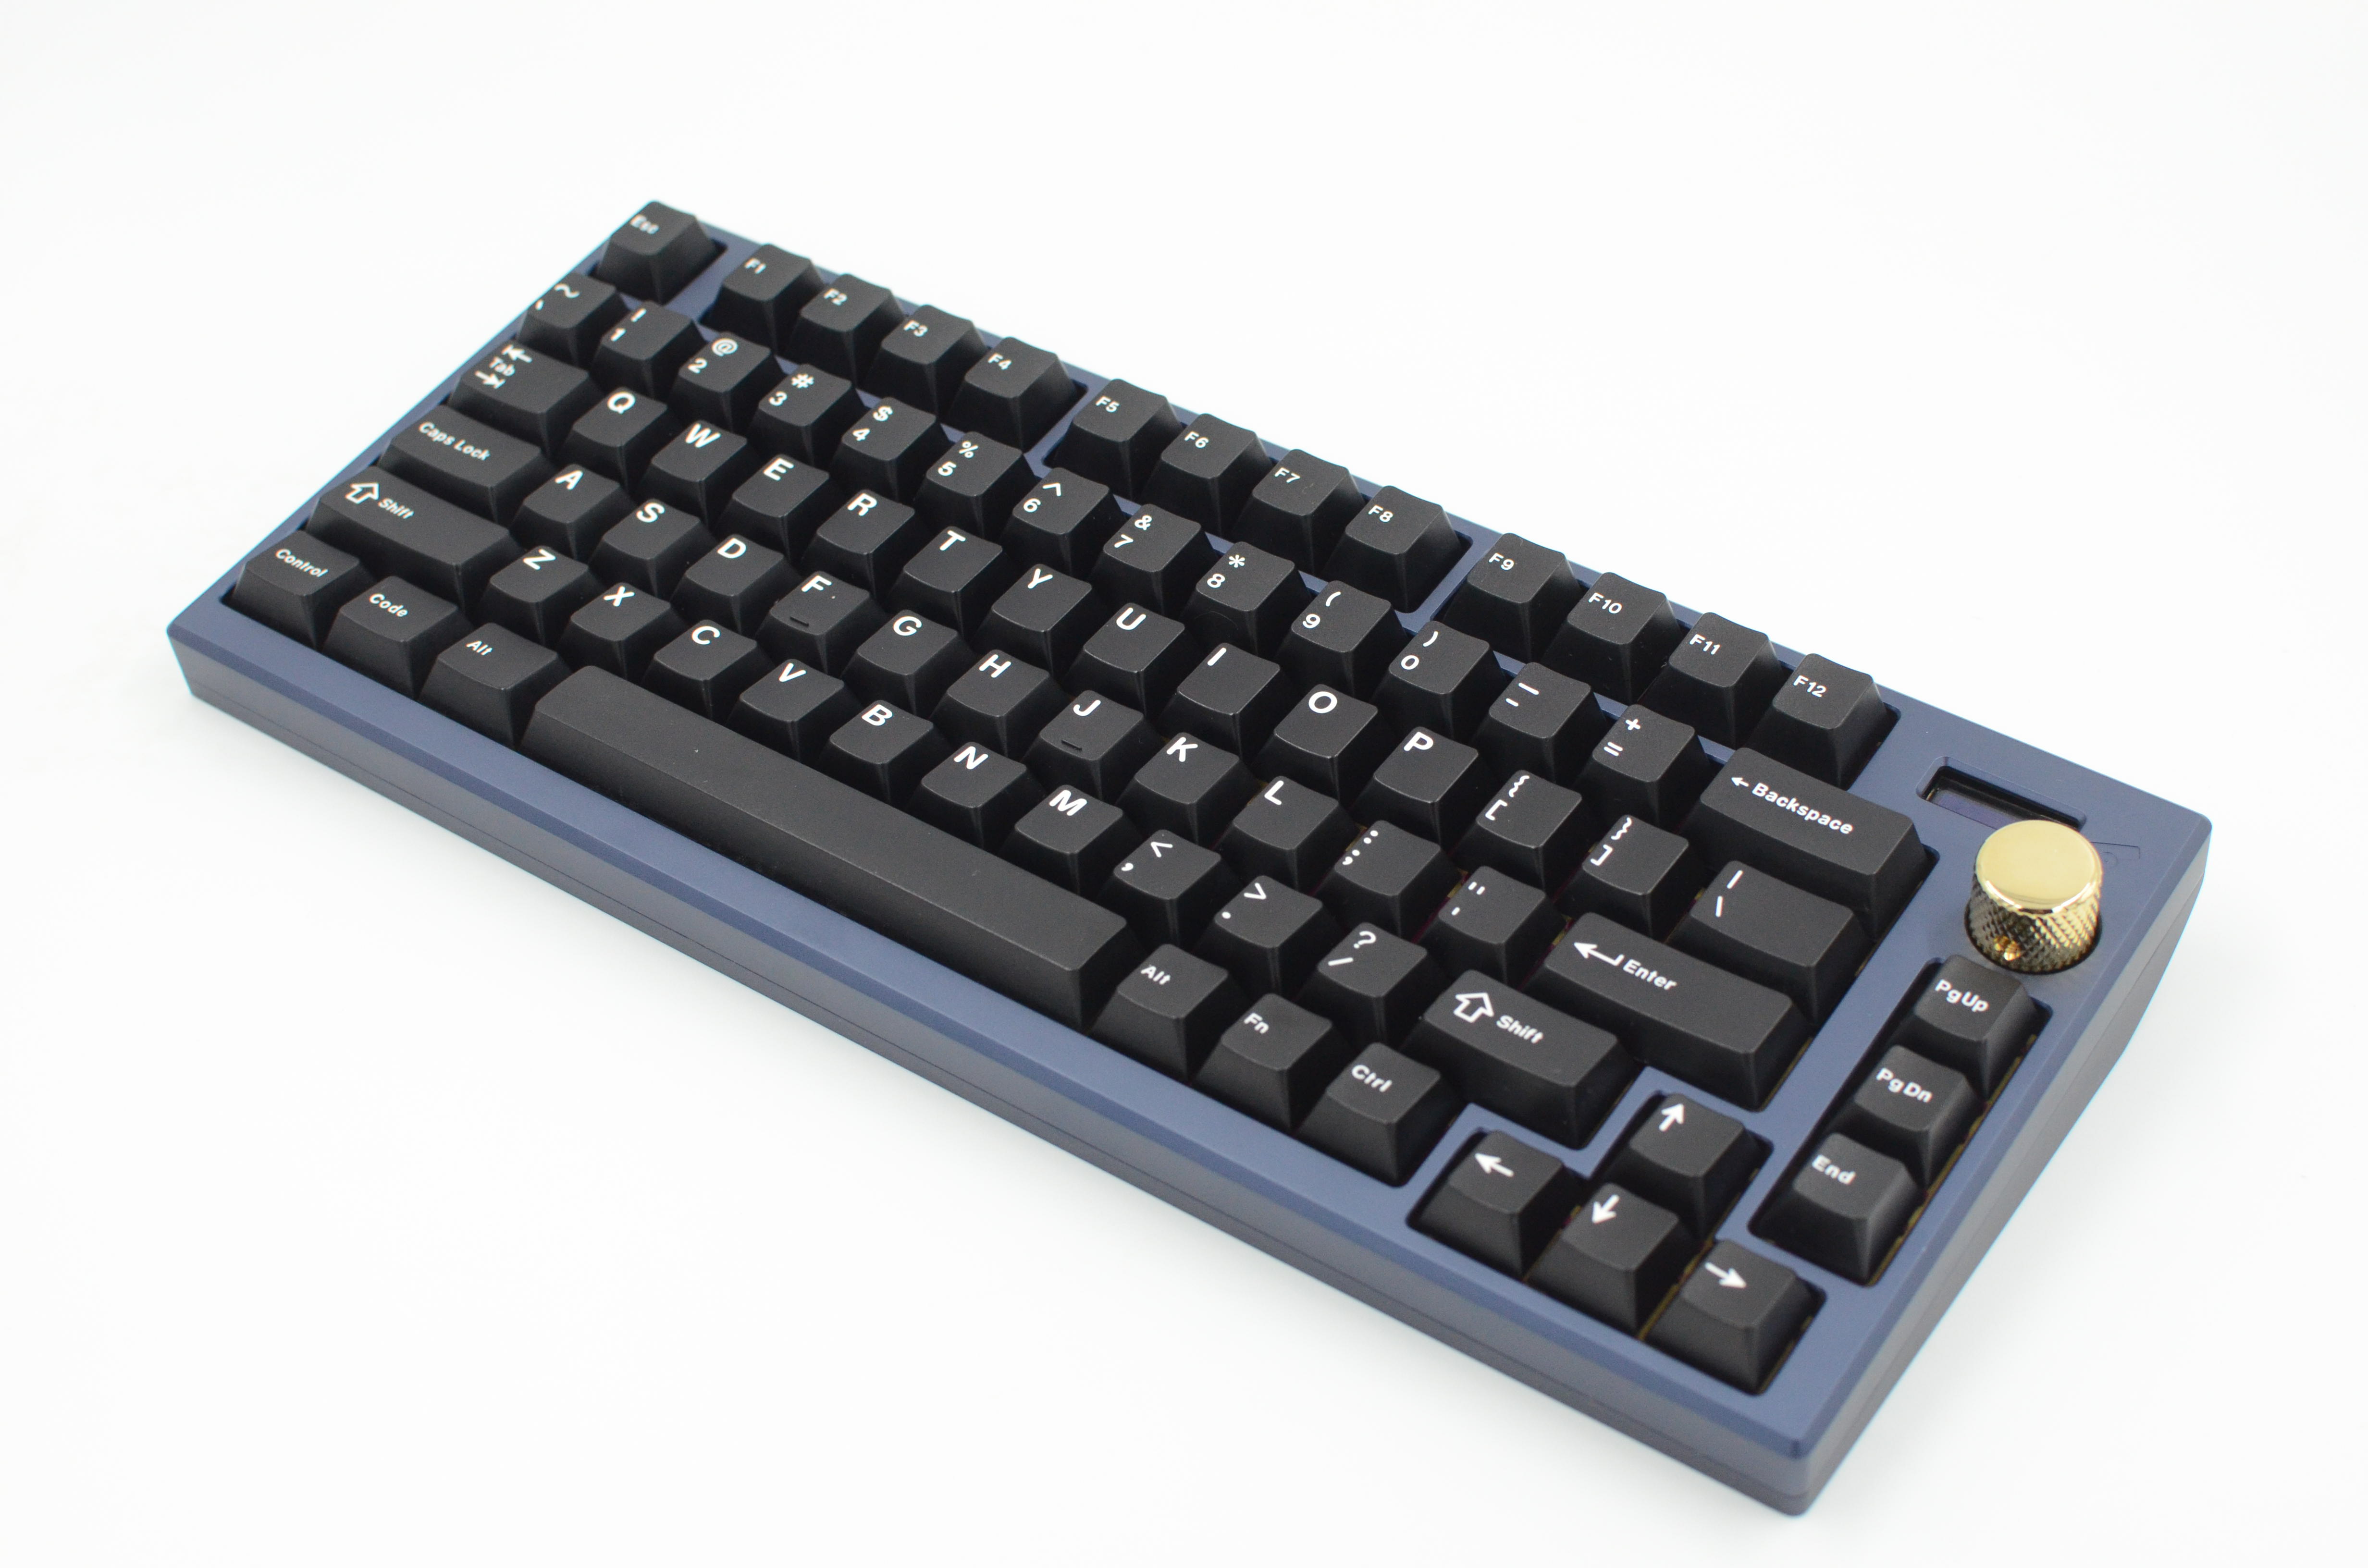
MECK-75
Based Off Satisfaction 75 (Coming Soon)

LEAGUE-Board
Half-Keyboard for Playing League of Legends (Coming Soon)
MECK-Planch
Ortholinear Board Based of Planch (Coming Soon)

MECH-Hacker
Based off Happy Hacking Keyboard Professional 2 (HHKB) (Coming Soon)


